3 Essential Tools for Mastering Felt Flowers
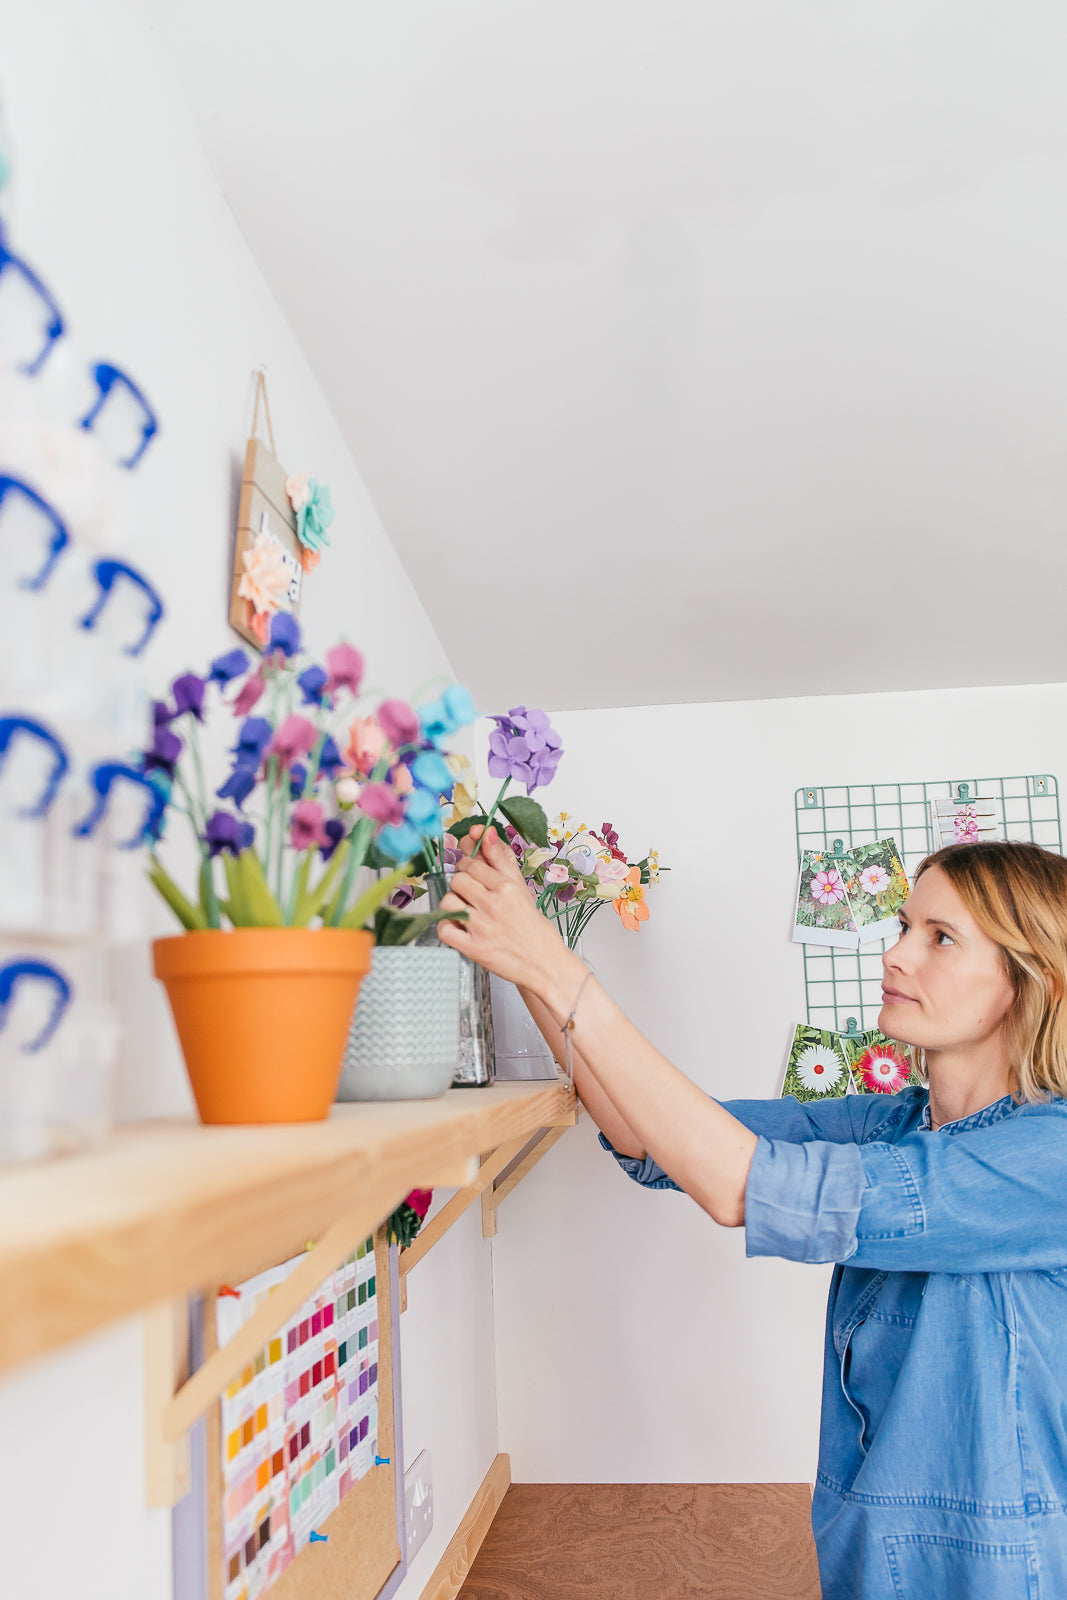
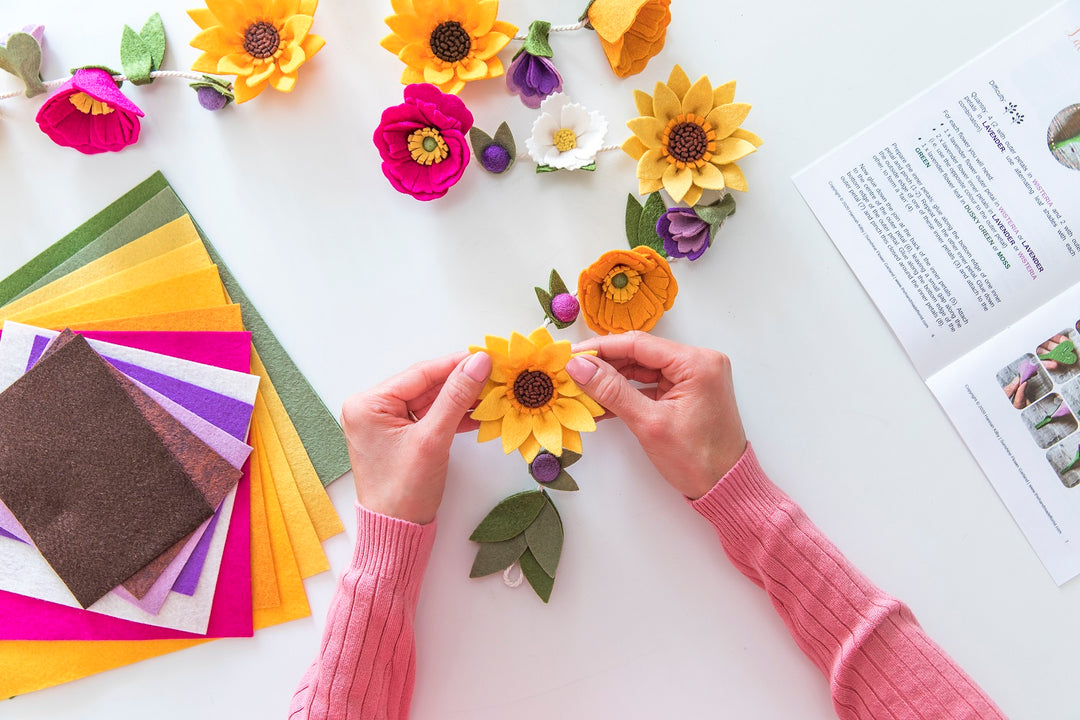
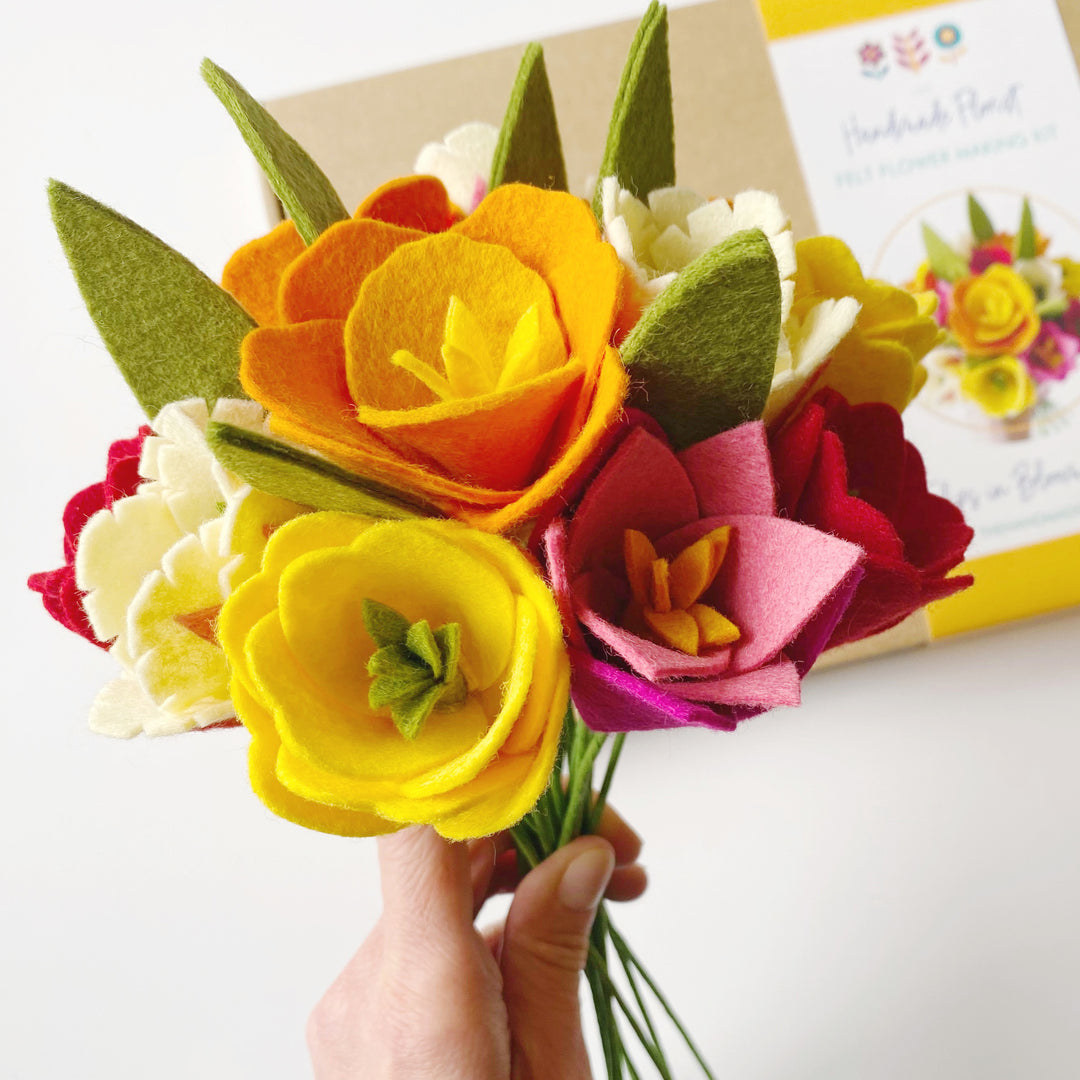
Crafting felt flowers is as popular as ever, and for good reason! They're beautiful, affordable, and endlessly customisable. But before you dive in, having the right tools will make the process smoother and give you stunning results.
Below, I'll take you through the top three tools I use on repeat for next-level felt flowers.
1. Keeping it sharp: Scissors

Scissors are your felt-flower crafting best friend, and a quality pair with micro-serrated blades is a game-changer. These tiny teeth grip the felt as you cut, preventing fraying and delivering clean edges. My current favourites are the Xcut Stainless Steel Pro Craft Scissors. They're comfy to hold and make cutting felt a breeze.
Pro Tip: Dedicate a pair of scissors solely to felt to keep them sharp and extend their lifespan.
2. Hotting up: Glue gun

Hot melt or cool melt? Mini or mighty? Glue gun options can be overwhelming! Here's a breakdown of things to consider:
- Starting Out? Grab a mini glue gun – they're affordable and perfect for getting your felt flower making underway. Look for one with a stand (trust me, you'll thank me later!).
- Flower-making addict? Level up with a robust glue gun like the Tec-305. It boasts a sturdy stand, precise nozzle, and temperature control for a smoother experience.
Hot vs. Cool Melt: Both work with wool blend felt, but hot melt generally offers better results (less wispy strings!). Just be mindful – it gets hot!
Cordless or Corded? This depends on your workspace. Corded options are great for dedicated crafters, while cordless offers freedom for on-the-go flower making.
Pro Tip: Invest in a heatproof mat to shield your work surface from glue drips.
3. Craft pliers: The Unsung Hero of Felt Flowers
Craft pliers might seem like an unexpected addition, but trust me, they'll become your secret weapon! Look for a set of mini craft pliers (including flat nose, round nose, and wire-cutting pliers).
- Flat Nose Pliers: Perfect for gripping small flower parts during gluing, especially those tricky inner strips. They're also great for bending and shaping wire stems and adding cute details like bee eyes!
- Wire-Cutting Pliers: These are lifesavers for wreath-making and trimming flower stems. Remember, snip small sections at a time – you can't un-cut!
- Round Nose Pliers: These multi-taskers can sub in for flat nose pliers and even create neat loops in wire stems for flower bases or felt balls.
Pro Tip: Opt for a three-piece craft plier set to have all the bases covered as you explore the world of felt flowers. Look for pliers labeled as "craft" or "jewellery" pliers. They're smaller and more manageable for delicate felt crafting.


With these essential tools in your crafting arsenal, you're ready to create beautiful, long-lasting felt flowers that will add a touch of magic to any space. Happy blooming!
If you’ve found this blog post useful and you’re ready to get started on making felt flowers, why not join my Happy Flower Makers club? As a member you’ll get access to exclusive projects, discounts and behind the scenes content. Find out more and choose your membership level. And don’t forget that my monthly Makealong is the perfect way to learn this beautiful art – sign up today.
Disclaimer: All opinions are my own and are freely given. I am in no way associated with the brands mentioned in this article and do not receive any incentives or commission. This article does not constitute advice and I recommend doing your own research before deciding whether a particular tool is right for your crafting needs.