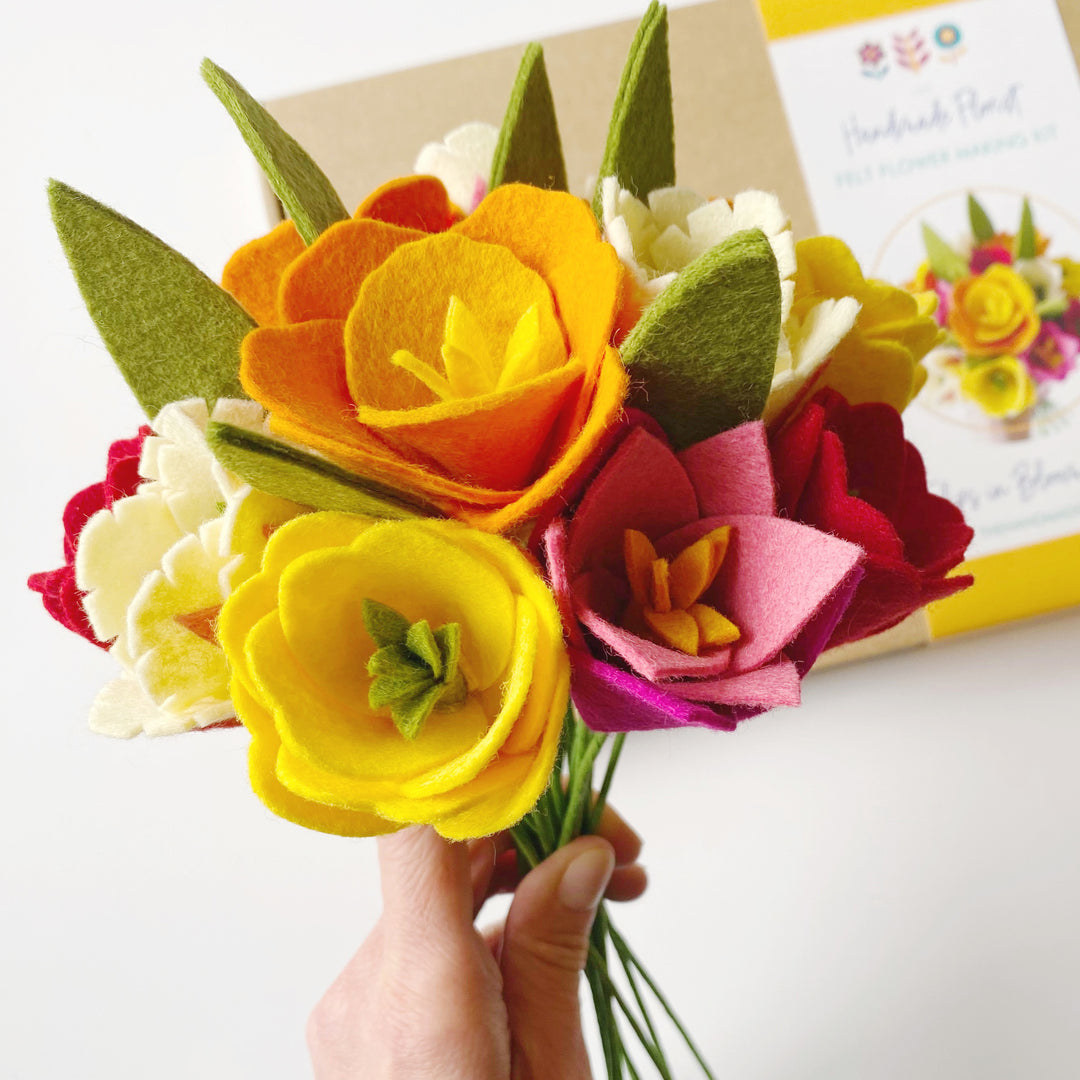
Spice Jar Tulips

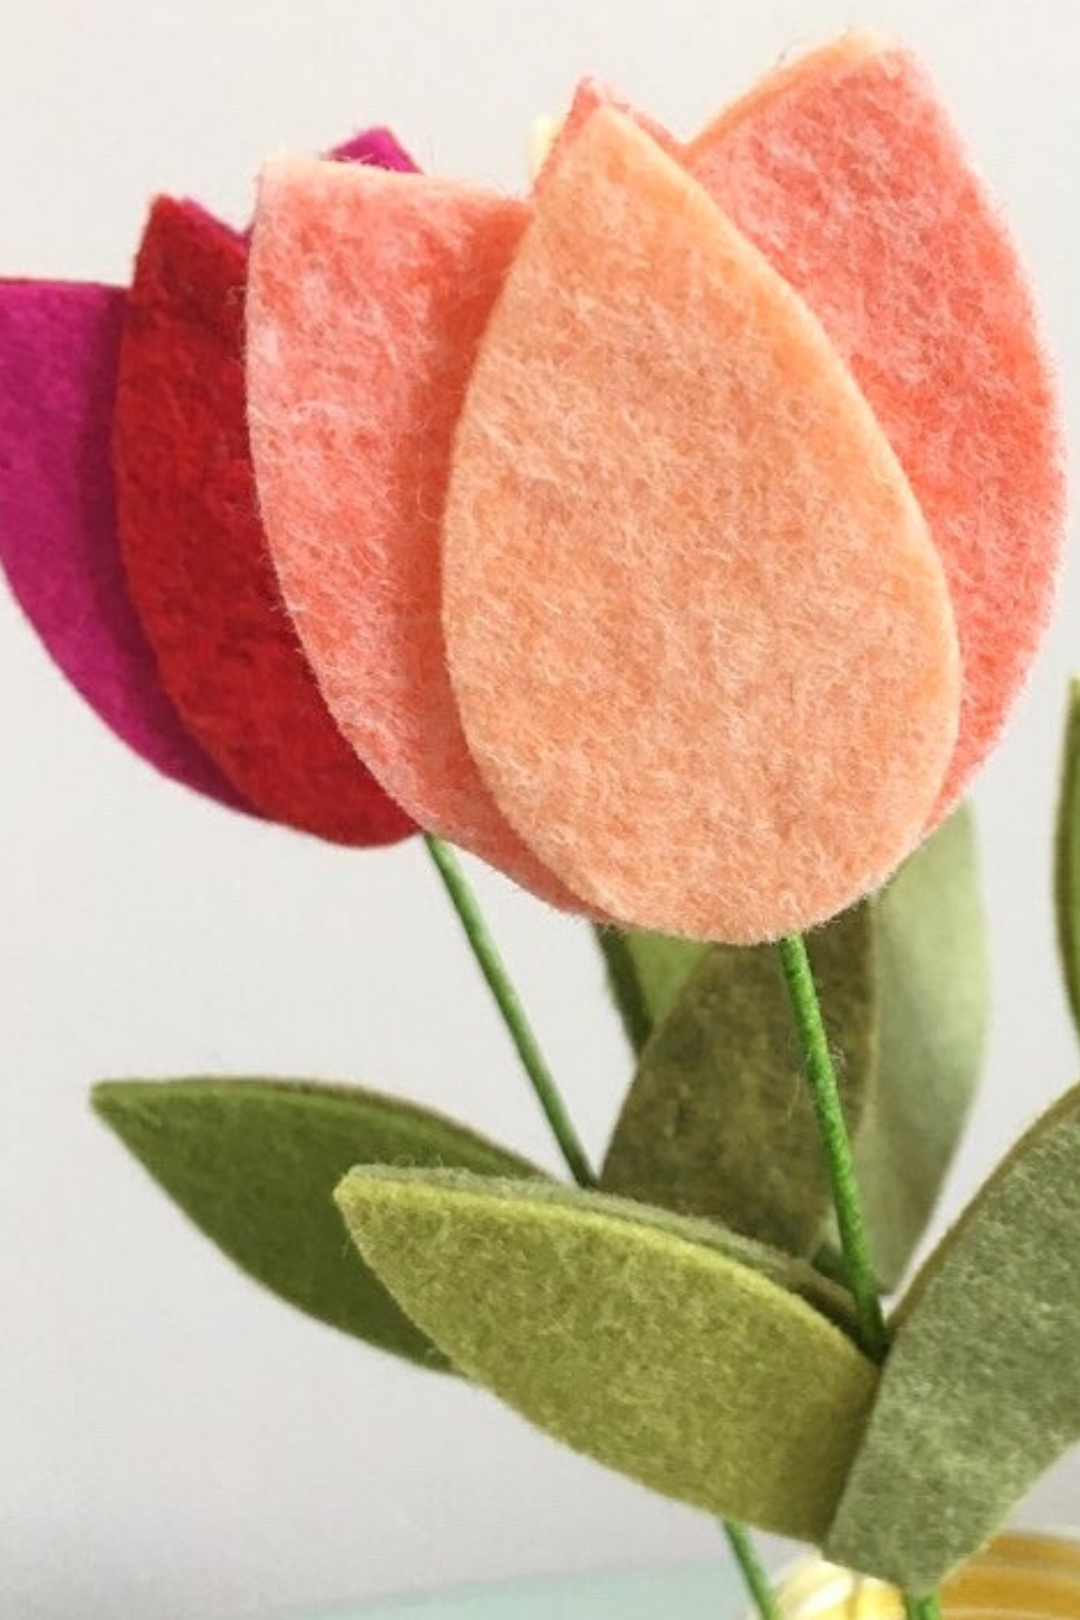
These sweet felt tulips are perfect for when you want something quick and simple to make, that still guarantees beautiful results. They were designed as 'flat flowers' to make them easy to pop in the post (how beautiful would they be enclosed in a birthday card?). And the name came from the simple way I chose to display them - in a cleaned spice jar (label removed!), with a simple ribbon tied at the neck. I hope you love making them as much as me.
SPICE JAR TULIPS
TOOLS AND MATERIALS:
- Paper for printing the templates
- Template sheet (PDF)
- Scissors
- Felt scraps in a mix of colours
- Florist wires (or other suitable materials to make flower stems) - any length, I used offcuts approximately 20cm long
- Florist tape (optional, using tape helps to give your stems a more natural and realistic look)
- Glue gun
- Small jar, vase or other container to display your tulips (I used an old, washed spice jar with some ribbon glued around the neck)
Start by choosing the colours for your shapes. For each tulip, you need two base petals, two top petals and four leaves. I made each of my tulips with four colours: two contrasting colours for the petals and two shades of green for the leaves.

Next, print and cut out the template pieces and then cut your felt shapes. The template sheet is full size when printed on A4 paper. If you're using freezer paper, remember to print onto the non-waxy side, then roughly cut around each shape before ironing onto your selected scraps of felt to cut out your shapes.
Now wrap your florist wires/flower stems with florist tape (optional).> VIDEO: HOW TO WRAP FLORIST WIRES
To assemble your tulips, take one of the base petals and glue your flower stem vertically, about halfway up the petal. Now glue the second base petal on top, covering over the wire and ensuring the edges of the petal meet.

Add the top petal in the contrasting colour to one side of the tulip; repeat on the opposite side.

Now take a pair of leaves in contrasting colours and glue them together at the base, so the leaves fan out to the side. Glue the flower stem to the centre of the leaves, where they cross over.

Glue one of the remaining leaves on the left side, matching up with the leaf below. Now repeat with the remaining leaf on the right side.

And that's it - so simple!
If you've enjoyed this project, don't forget to share your makes with me on Instagram or Facebook using the hashtag #thehandmadefloristmakes and tag me @thehandmadeflorist.


