Spring 2026 Makealong Hub
My Spring 2026 Makealong has now concluded, but you can still catch up with all the projects below. Download the templates and follow along with the video tutorials to create your own beautiful springtime wreath.
The Makealong Timeline
- Week 1 (March 20th): The Foundations
- Week 2 (March 27th): Meadow Blooms
- Week 3 (April 3rd): The Spring Trilogy
- Week 4 (April 10th): The Final Flourish
Keep in the loop and hear as soon as my next Makealong is announced by joining my email newsletter.
Join my email listGet Ready: Wrapping Your Hoop
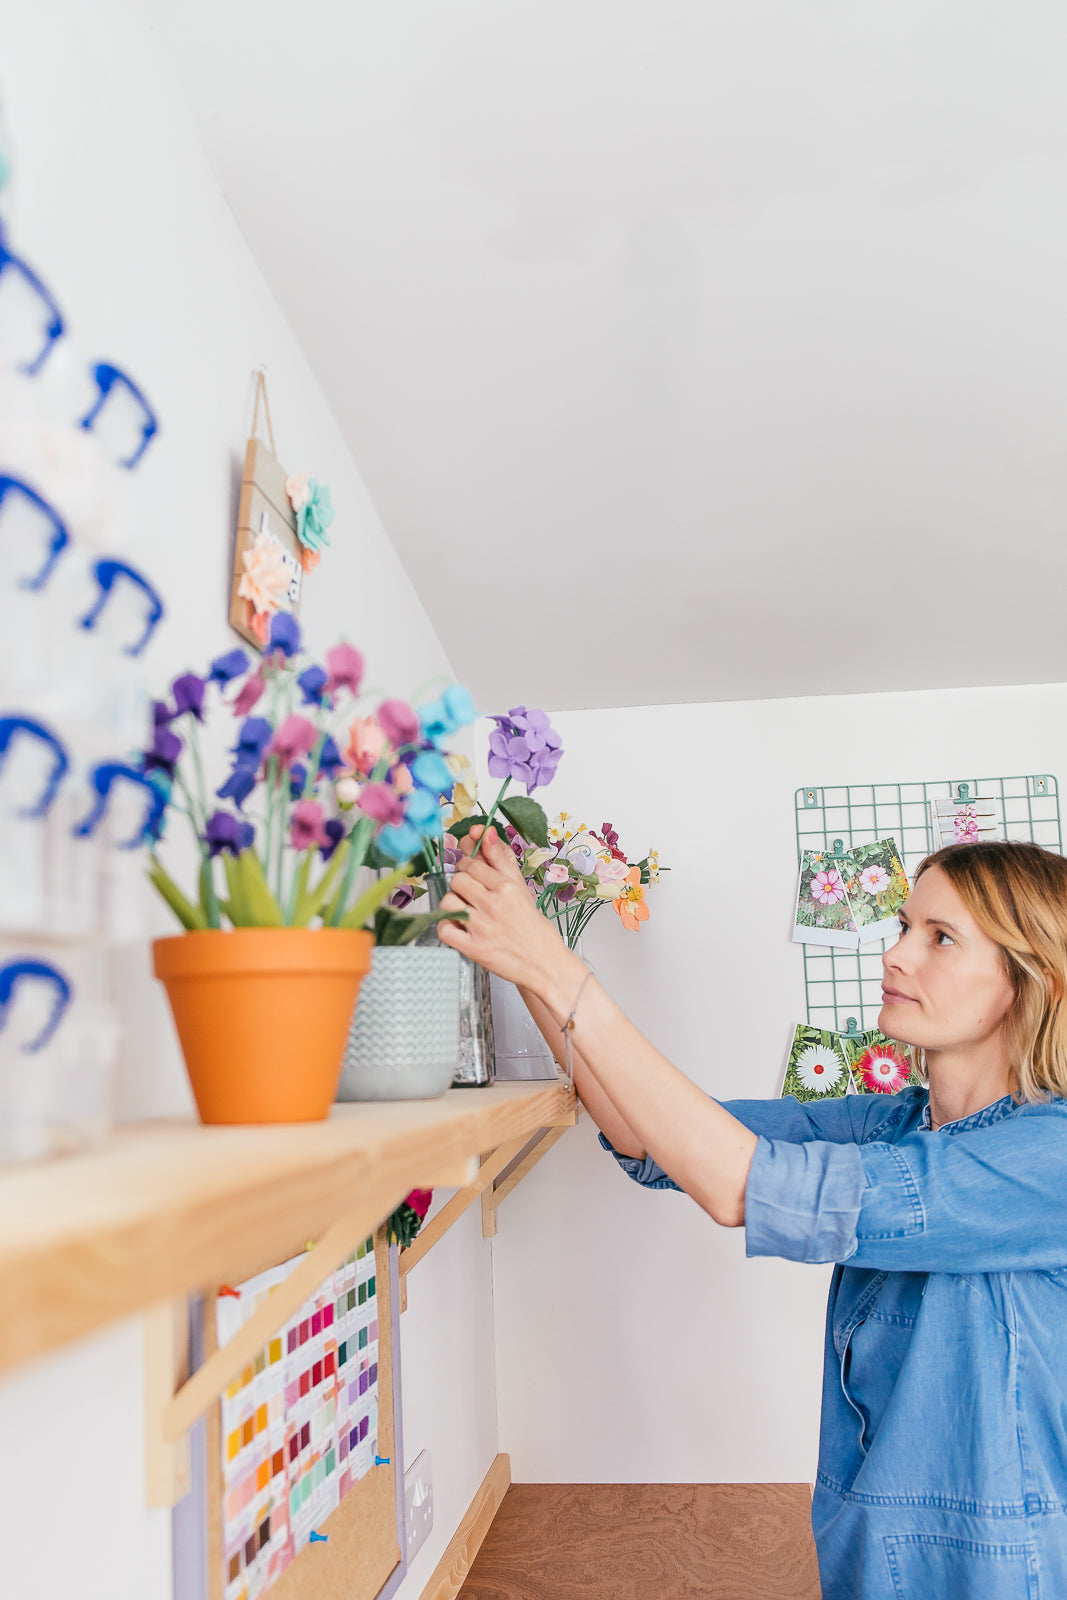
Before we start on our flowers, we need to prepare the wreath base. Watch the video below to learn how to neatly wrap your hoop with your burlap ribbon.
I recommend wrapping your hoop a day or two before Week One begins so you're ready to dive straight into the making!
Top Tips for Wrapping Your Hoop
- Secure the Start: Apply a small dab of hot glue to the back of the hoop. Press the end of your burlap ribbon into the glue and hold for a few seconds until set. If you prefer not to use glue, you can use a pearl-headed pin to secure the ends of the ribbon instead.
- The 'pass-through' rule: To avoid tangles and knots, always pass the entire reel of ribbon through the centre of the hoop for every single wrap. Straighten the ribbon as you go to prevent twists.
- Keep it taut: Stretch the burlap firmly as you wrap. It has a bit of give, so pulling it tight ensures it won't slide around later.
- Smooth as you go: Take your time to straighten the ribbon and smooth out any creases. The ribbon will naturally bunch a little on the inside of the hoop - use your thumb to press these folds flat.
- The overlap: Aim to overlap each previous wrap by about 1–2cm. This gives you full coverage while leaving enough space to insert wires later.
- A clean finish: Once the hoop is fully covered, cut the ribbon leaving a small tail. Fold the raw edge under itself and glue - or another pearl-headed pin - firmly to the back.
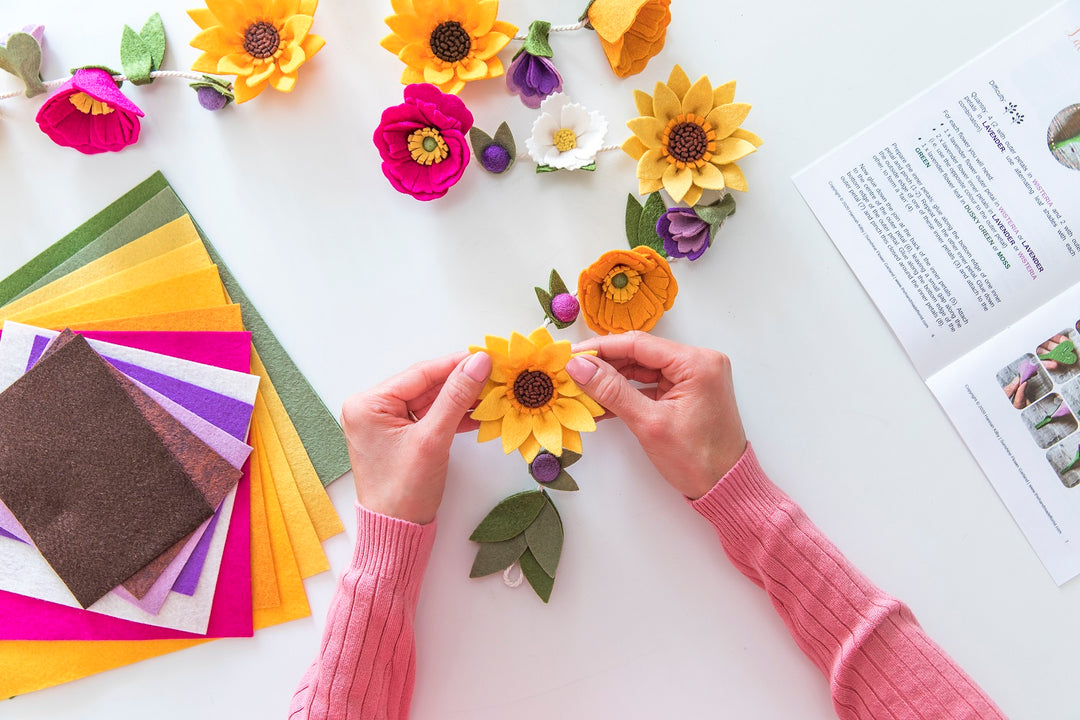
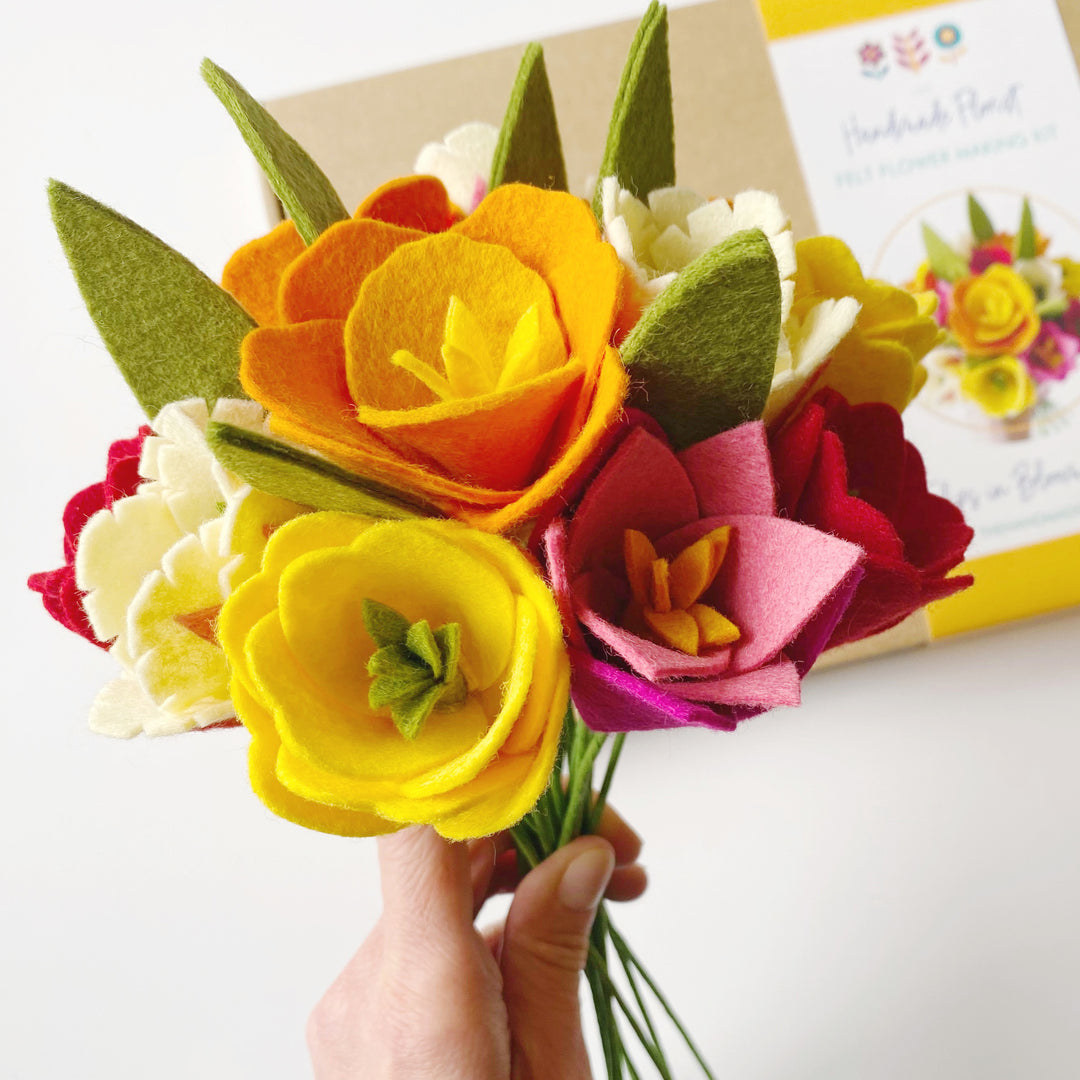
Weekly Tutorials & Templates
Week 4: The Final Flourish
Final PartThe finish line! Today we create our delicate Forget-Me-Nots and complete the full wreath.
Share Your Progress
I would love to see your spring wreath coming together! Share your photos on Instagram using our community hashtag so we can cheer each other on:
#HandmadeFloristMAL
Need a hand? Contact me